
You have decided to create your first online course. Great! Now what?
“To achieve great things, two things are needed: a plan, and not quite enough time.”
— Leonard Bernstein, composer and conductor
Often, training professionals and university lecturers come under pressure to deliver online courses within a short time frame. A good course plan is crucial in maintaining quality while achieving tight course authoring deadlines.
A course plan lays out a clear pathway for linking your content to your learning outcomes. In other words, a course plan helps your learners to achieve their goals through your content.
By planning your course before building it, you will have a map that prevents you from getting stuck on a single module or straying too far from your original goals—saving you valuable time in the process.
In this blog post, we’ll demonstrate how you can create your own online course plan in a short amount of time.
To help you get started, we have created a course design template that you can copy on Google Drive.
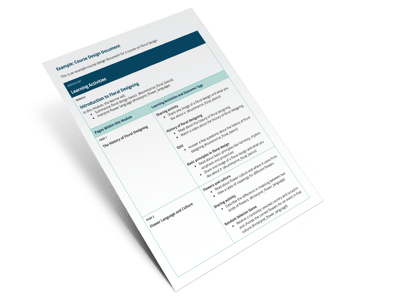

Start by defining the course information, such as a course name, target audience, and learning outcomes. The course design template provides sample course information for a course on starting your own bakery:
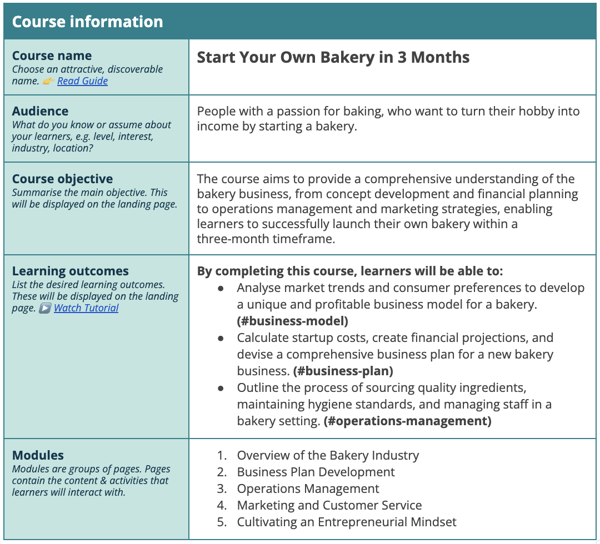 Sample course information for a course called 'Start Your Own Bakery in 3 Months'. Click here to gain access to the live document.
Once you have defined the basic course information, the course design template will guide you to strategically map out:
The modules and pages make up the “content” of your course (e.g. videos, text, audio, sharing activities, quizzes). The learning outcomes are the “goals” that you want learners to achieve through your content.
The main goal of this template is to create a birds-eye view of how your content will support your learning outcomes.
We’ve already written about why learning outcomes matter and how to write them. Here’s a quick primer for the purposes of this blog post:
Learning outcomes are the goals of your course. They are statements that usually start with “By completing this course, learners will…” and describe what students will be able to demonstrate by the end of your course.
For example, in a course called Start Your Own Bakery in 3 Months, the learning outcomes might be:
By the end of this course, learners will be able to:Let's focus on the first learning outcome. In our example, the first module guides learners to achieve this learning outcome. Each learning activity is described under “What will learners do on this page?”. Here is how it looks:
- Analyse market trends and consumer preferences to develop a unique and profitable business model for a bakery. (#business-model)
- Calculate startup costs, create financial projections, and devise a comprehensive business plan for a new bakery business. (#business-plan)
- Outline the process of sourcing quality ingredients, maintaining hygiene standards, and managing staff in a bakery setting. (#operations-management)
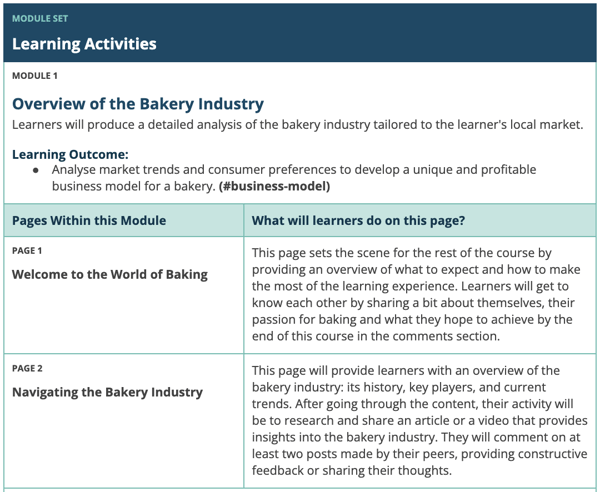 Sample course design document for a course called 'Start Your Own Bakery in 3 Months'. Click here to gain access to the live document.
You can also get creative with this course design template. For instance, you might choose to tackle a combination of learning outcomes throughout each module, or a different learning outcome on each page.
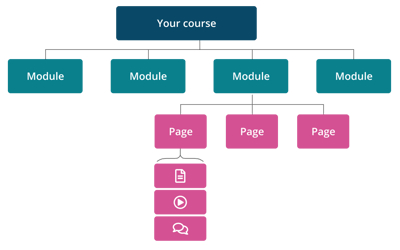
You might be wondering how courses are structured on OpenLearning. Your course content can be arranged into three levels: Module Sets, Modules and Pages:
Here is an example from inside a course. The module sets are distinguishable by the chevron ( > ) next to them.
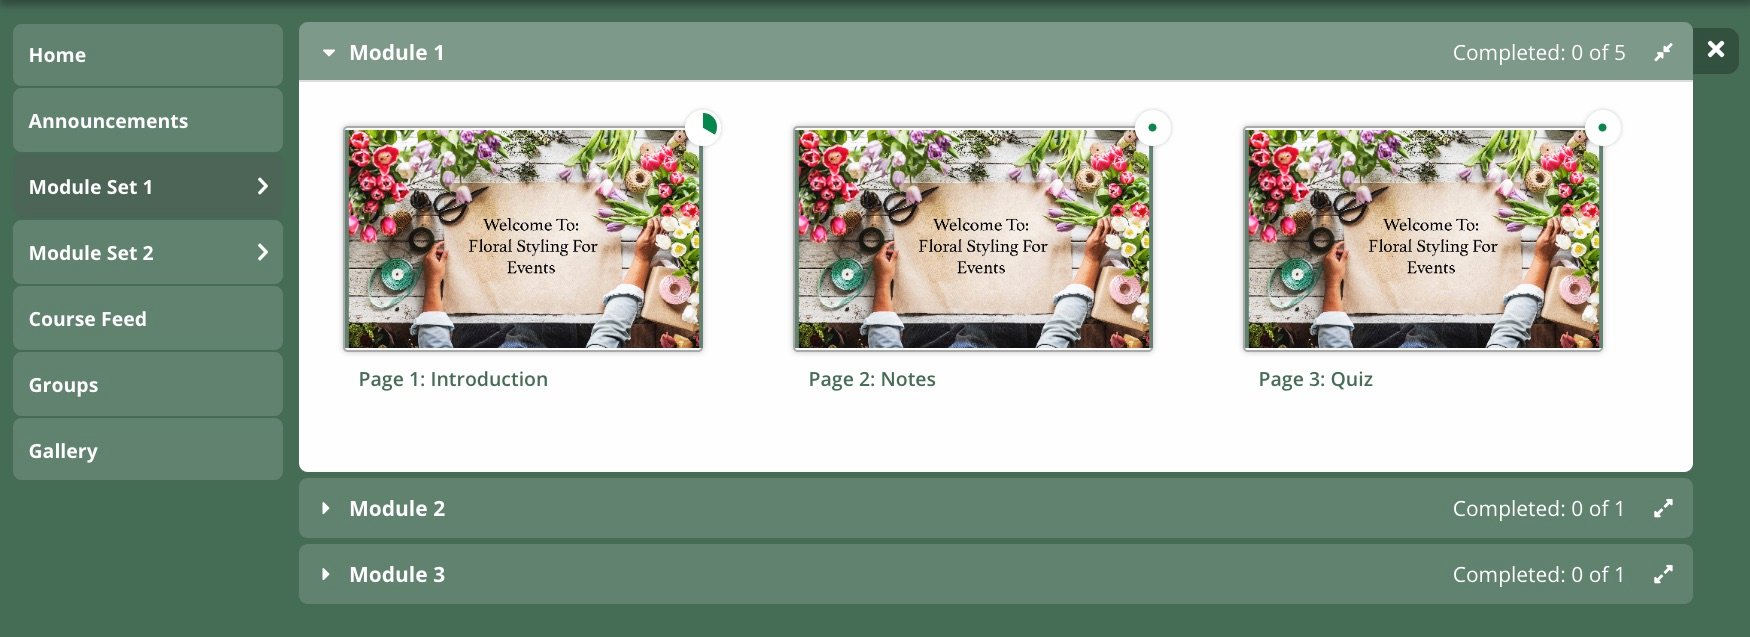
Module sets can contain many modules. This is an advanced feature that allows you to add an extra layer of structure to your course.
Modules are the major topics of your course which can contain several pages.
Pages are where you can add and arrange content, media, and activities.
Content can be arranged into as many module sets, modules, and pages as desired.
In our 'Start Your Own Bakery in 3 Months' example, there is 1 module set, 5 modules and the first module has 5 pages. They are:
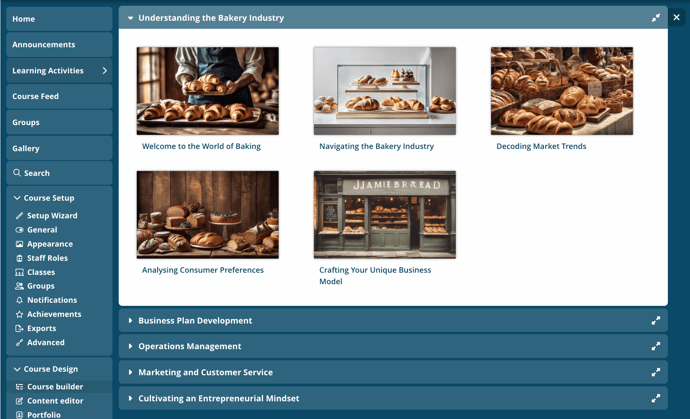
💡Did you know? You can use AI to generate your own course structure from within the OpenLearning platform. In fact, these modules were planned using the OpenLearning AI Course Builder, which combines user input with best practices in learning design to generate an entire course structure.
Here are some popular arrangements used by creators in higher education, training, and corporate learning:
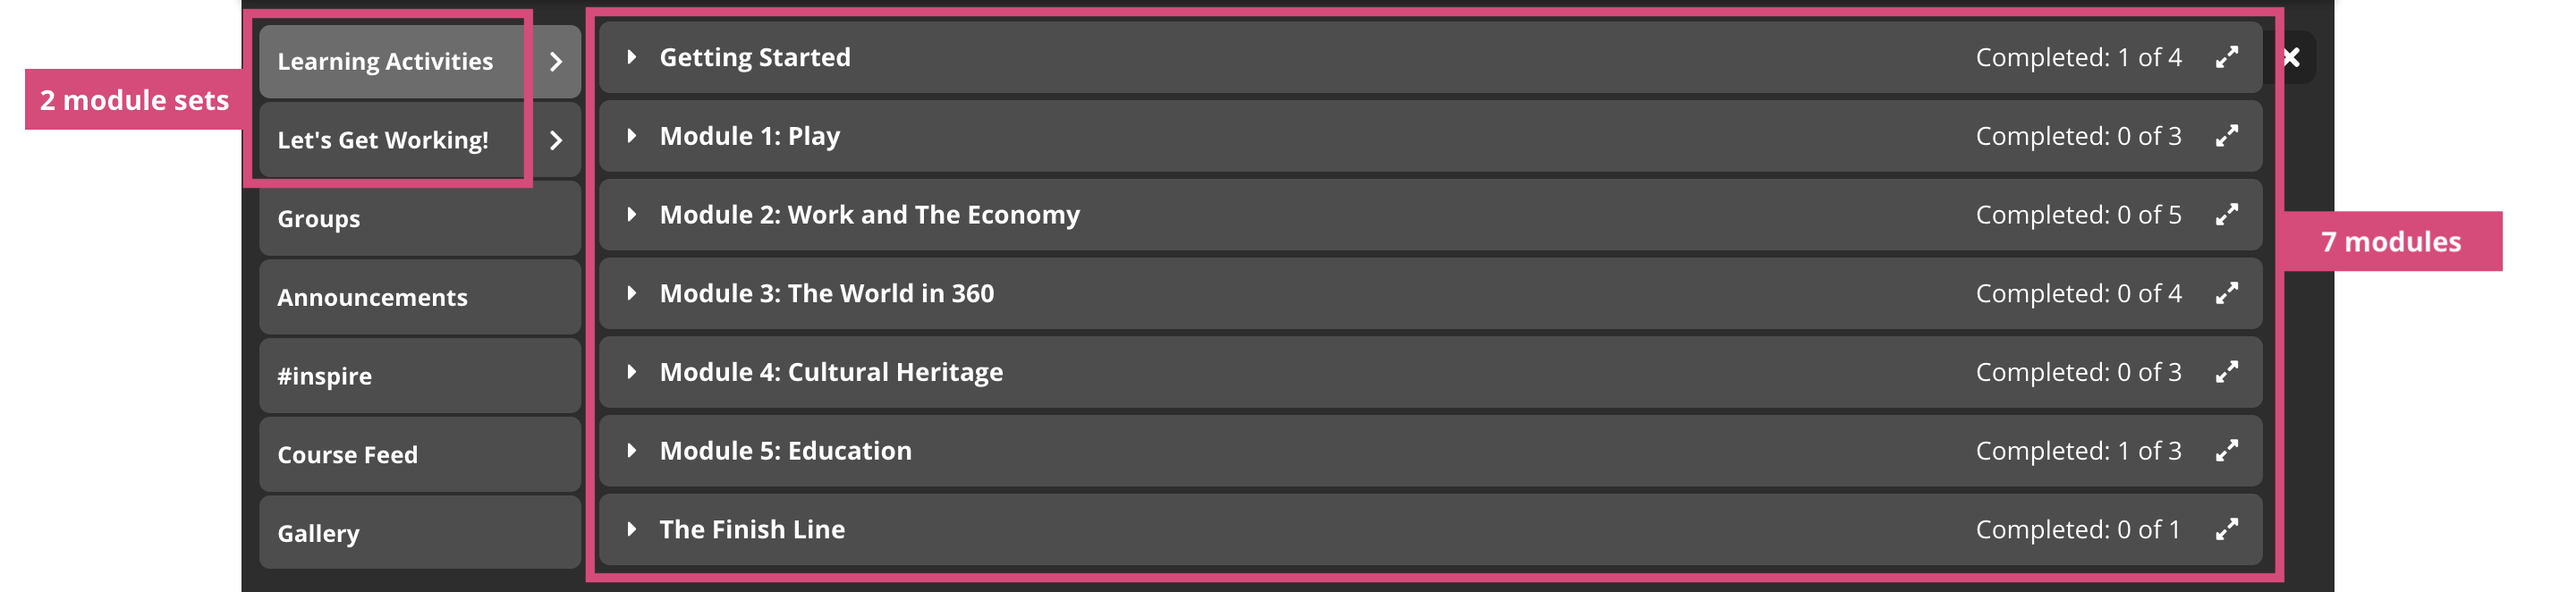
In this example, the course has 2 module sets:
You can read more about how these two module sets interact in this explainer article by the course creator, or join the course yourself to check it out!
Underneath the two module set tabs, you may notice a few other tabs such as ‘Groups’ and ‘Announcements’. These tabs are listed by default in all OpenLearning courses, but can be hidden if needed. Besides the default tabs, you can also add your own tabs on the left-hand side: for example, '#inspire' is an additional tab.
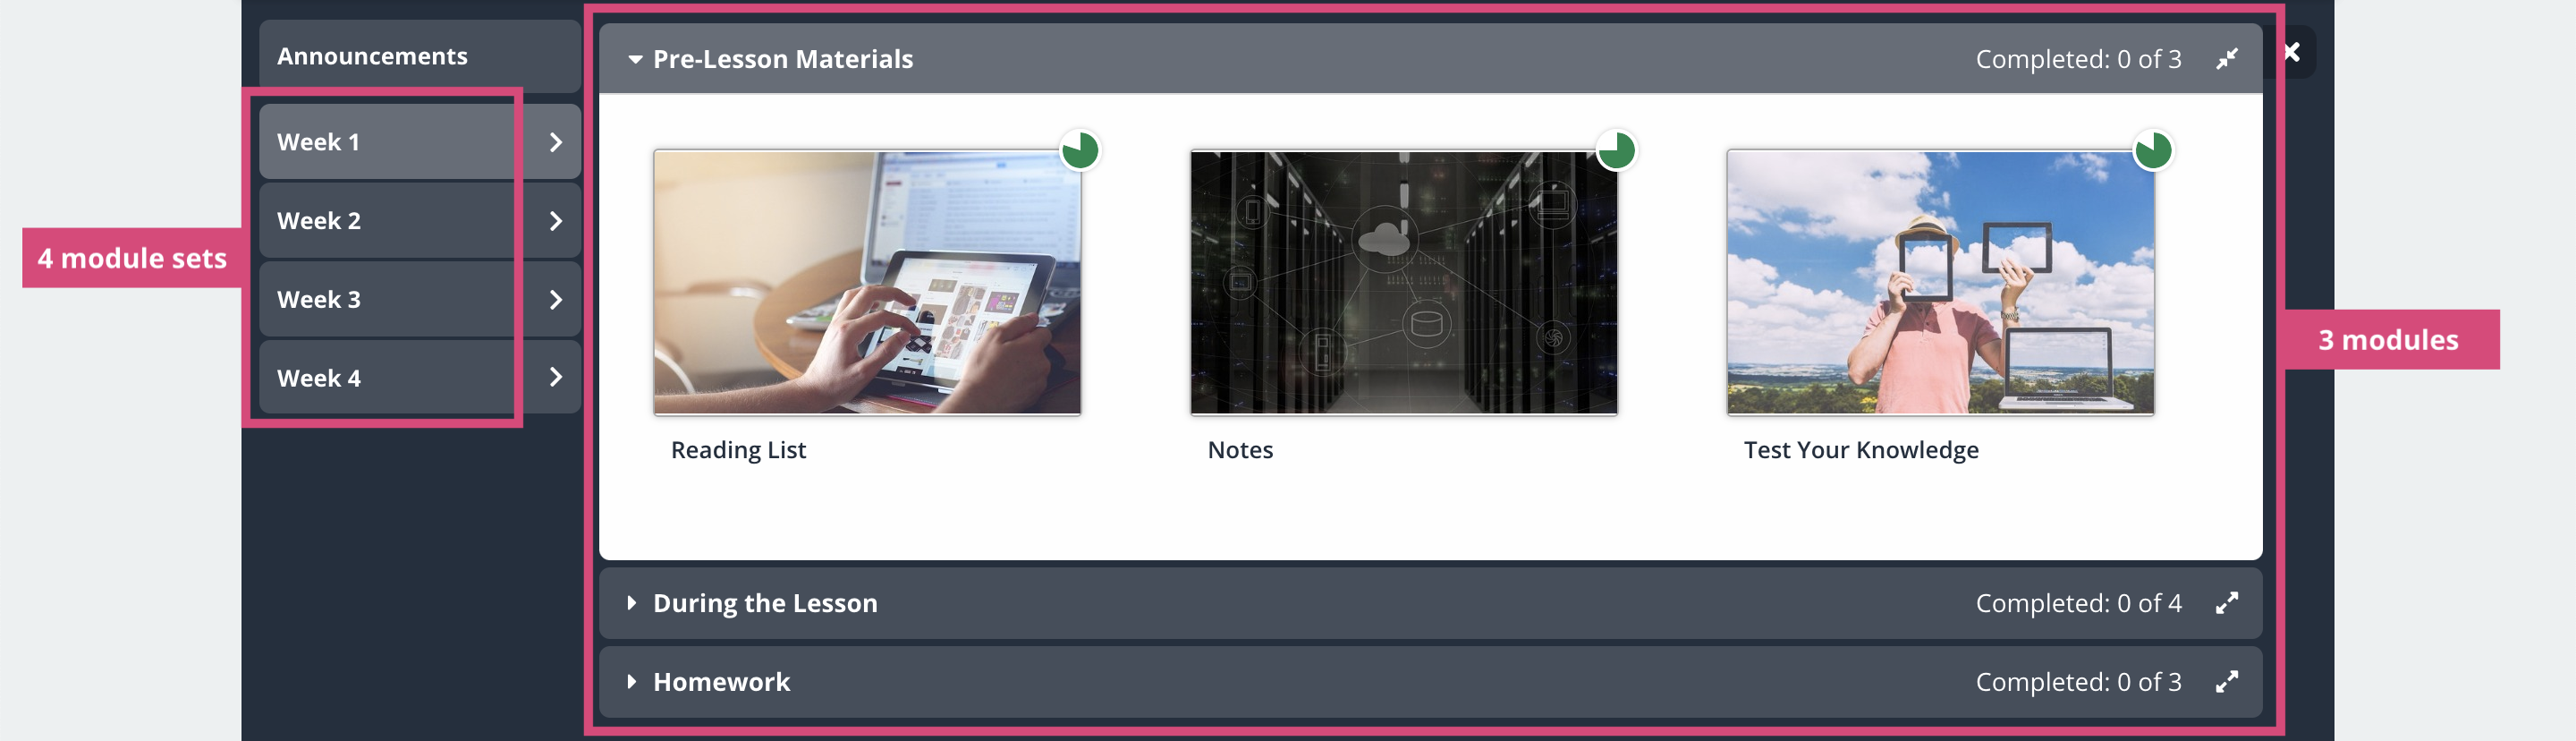
This is a course where the learners meet once a week for a face-to-face lesson.
It has 4 module sets (one for each week). Each week has 3 modules: the 'Pre-Lesson Materials' module contains the pages ‘Reading List’, ‘Notes’ and ‘Test Your Knowledge’ which are accessed online before attending the class. The 'During the Lesson' module is completed in class, while the 'Homework' module is done at home.
Another way of representing this structure is:
Week 1:
- Pre-Lesson Materials
- Reading List
- Notes
- Test Your Knowledge
- During the Lesson
- Homework
Those are just two ways to arrange your course, but you can get creative with your own course plan. Just be sure to explain how to navigate through the course to your learners.
To see more examples from other courses, try enrolling yourself into any of these 10 courses. Take note of how you feel as a learner in other courses: is the course fun? Does it have an interactive, vibrant learning community? If yes, is there a pattern between the content and the course learning outcomes? These are the patterns that you can use in your course, as well.
Given all of the moving parts in an online course, it's easy to slip off-track without a course plan. You may not have all of the details of your course right now, but you can use the course design template to kickstart your learning design process.
You can also use the OpenLearning AI Course Builder to create your course at a quicker pace while utilising social constructivist learning philosophy! Find out more about this tool on the OpenLearning Help Community.
We hope you enjoy using our free online course planning template to outline your course. Stay tuned for the next part of the series, where we will explore activity design in further detail.
The OpenLearning course design template helps you to design an online course that helps learners to achieve their learning outcomes. It is available for you to make your own copy on Google Drive.


