
Are you building an online course and worrying about having to create everything from scratch? Worry no more, everything could already be at your fingertips!
Do you remember creating a collage at school where you mixed and matched a variety of materials like photos, coloured paper, and newspaper clippings?
It’s a similar concept as when you’re building an online course.
Based on the learning outcomes that you want your learners to achieve, you can mix and match different resources for your online course, add your own personal touch, and curate the whole learning experience.
Your materials are the resources that you already have: a course syllabus, a textbook, presentation slide decks, notes, demo videos, and the likes.
In this guide, I will demonstrate how I created a simple Graphic Design course based on some materials that I already had on hand — in just 6 steps.
The existing resources that I used were:
.png?width=1200&name=Preview%20Images%20-%20Shaliza%20Blog%20Post%20How%20to%20Create%20Online%20Courses%20Using%20Resources%20You%20Already%20Have%20(2).png)
Our existing resources include a PPT, PDF, JPG/PNG and a YouTube video, as pictured above. We will edit and use these to build our online course.
Let’s start with the first step.
Before you start curating your masterpiece, the first step is to set your course learning outcomes. The good news is, you may already have these at your fingertips. All you have to do now is review and improve them to make sure they are clear and measurable!
Clear and measurable learning outcomes are not only important for you to assess the learners, but also for learners to assess themselves. Read more about what learning outcomes are and why they matter here.
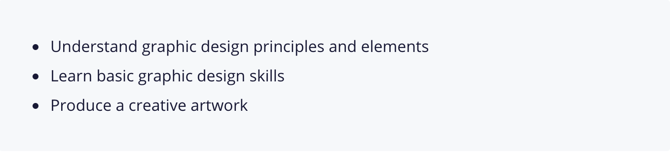
Here are the existing learning outcomes for my Graphic Design course:
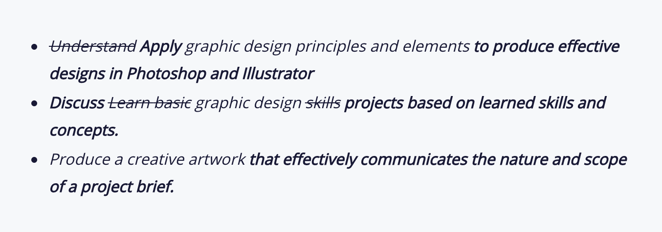
To make them clear and measurable, I added new action verbs and context to the learning outcomes:
Once you have set your learning outcomes, you are ready to outline your course.
Think of the topics and activities that will help your learners to accomplish the learning outcomes. Then, think about how you will determine whether or not your learners have achieved these outcomes.
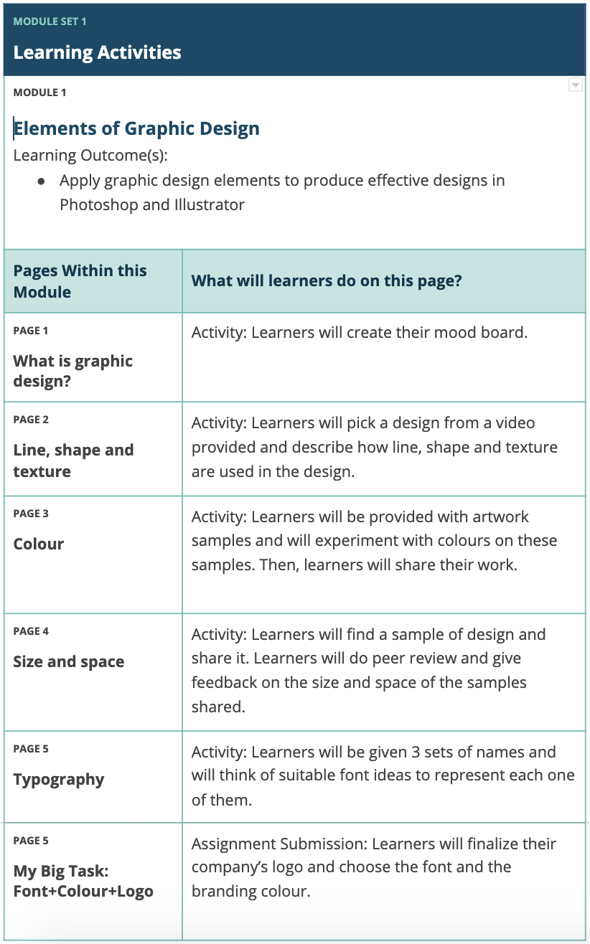
The table below shows the course outline for the first module of my Graphic Design course. I have selected and added the topics from my PDF textbook - Graphic Design For Non-Artists and aligned them to the learning outcomes.
Tip: I always place my learning outcomes at the top so that it’s easy to refer to them while I’m outlining the topics for my module. You can learn more about how to outline your course using a downloadable template here.
Here is the fun part! Once you are ready with your course outline, it’s time to choose which of your existing resources to include. These can be in the form of:
When choosing resources, ask yourself: “What resources will lead my learners to accomplish their course goals?”
This is where you can evaluate your content to see if it is relevant. You can then assess what to include and exclude, and maybe visualise some of the concepts as PNGs or JPGs to better present them to your learners.
Select only what you need for your course and list them in your course outline. Remember, make sure everything leads the learners back to the learning outcomes.
The table below shows how I arranged my content and resources for Page 1. As I listed down the content for this topic, I also mentioned all the relevant resources and where to find them.
Again, here are my existing resources: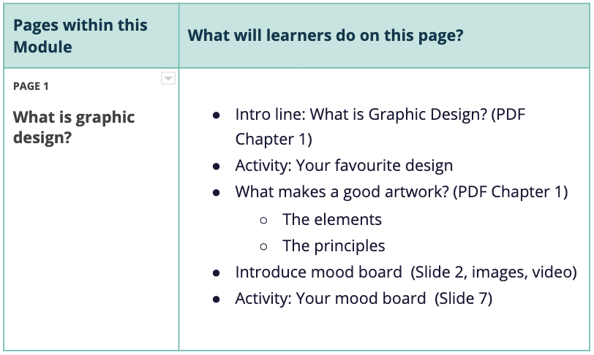
Now that you have everything lined up in a nice flow, you can start looking at your resources and think of how you can change or enhance them to adapt to online learning.
Here are some tips on what you can do with your resources:
If most of your content is in text form (PDFs, Doc or slides), you can chunk your text into smaller pieces.
You can chunk them into smaller topics, or add a short activity in between each piece of content to ensure that you don’t lose your learners’ attention. Always look back at your learning outcomes and course outline when you do this—remember, only take what you need.
Here is one example from my Graphic Design course. This is how my content looked once I had chunked and simplified it:
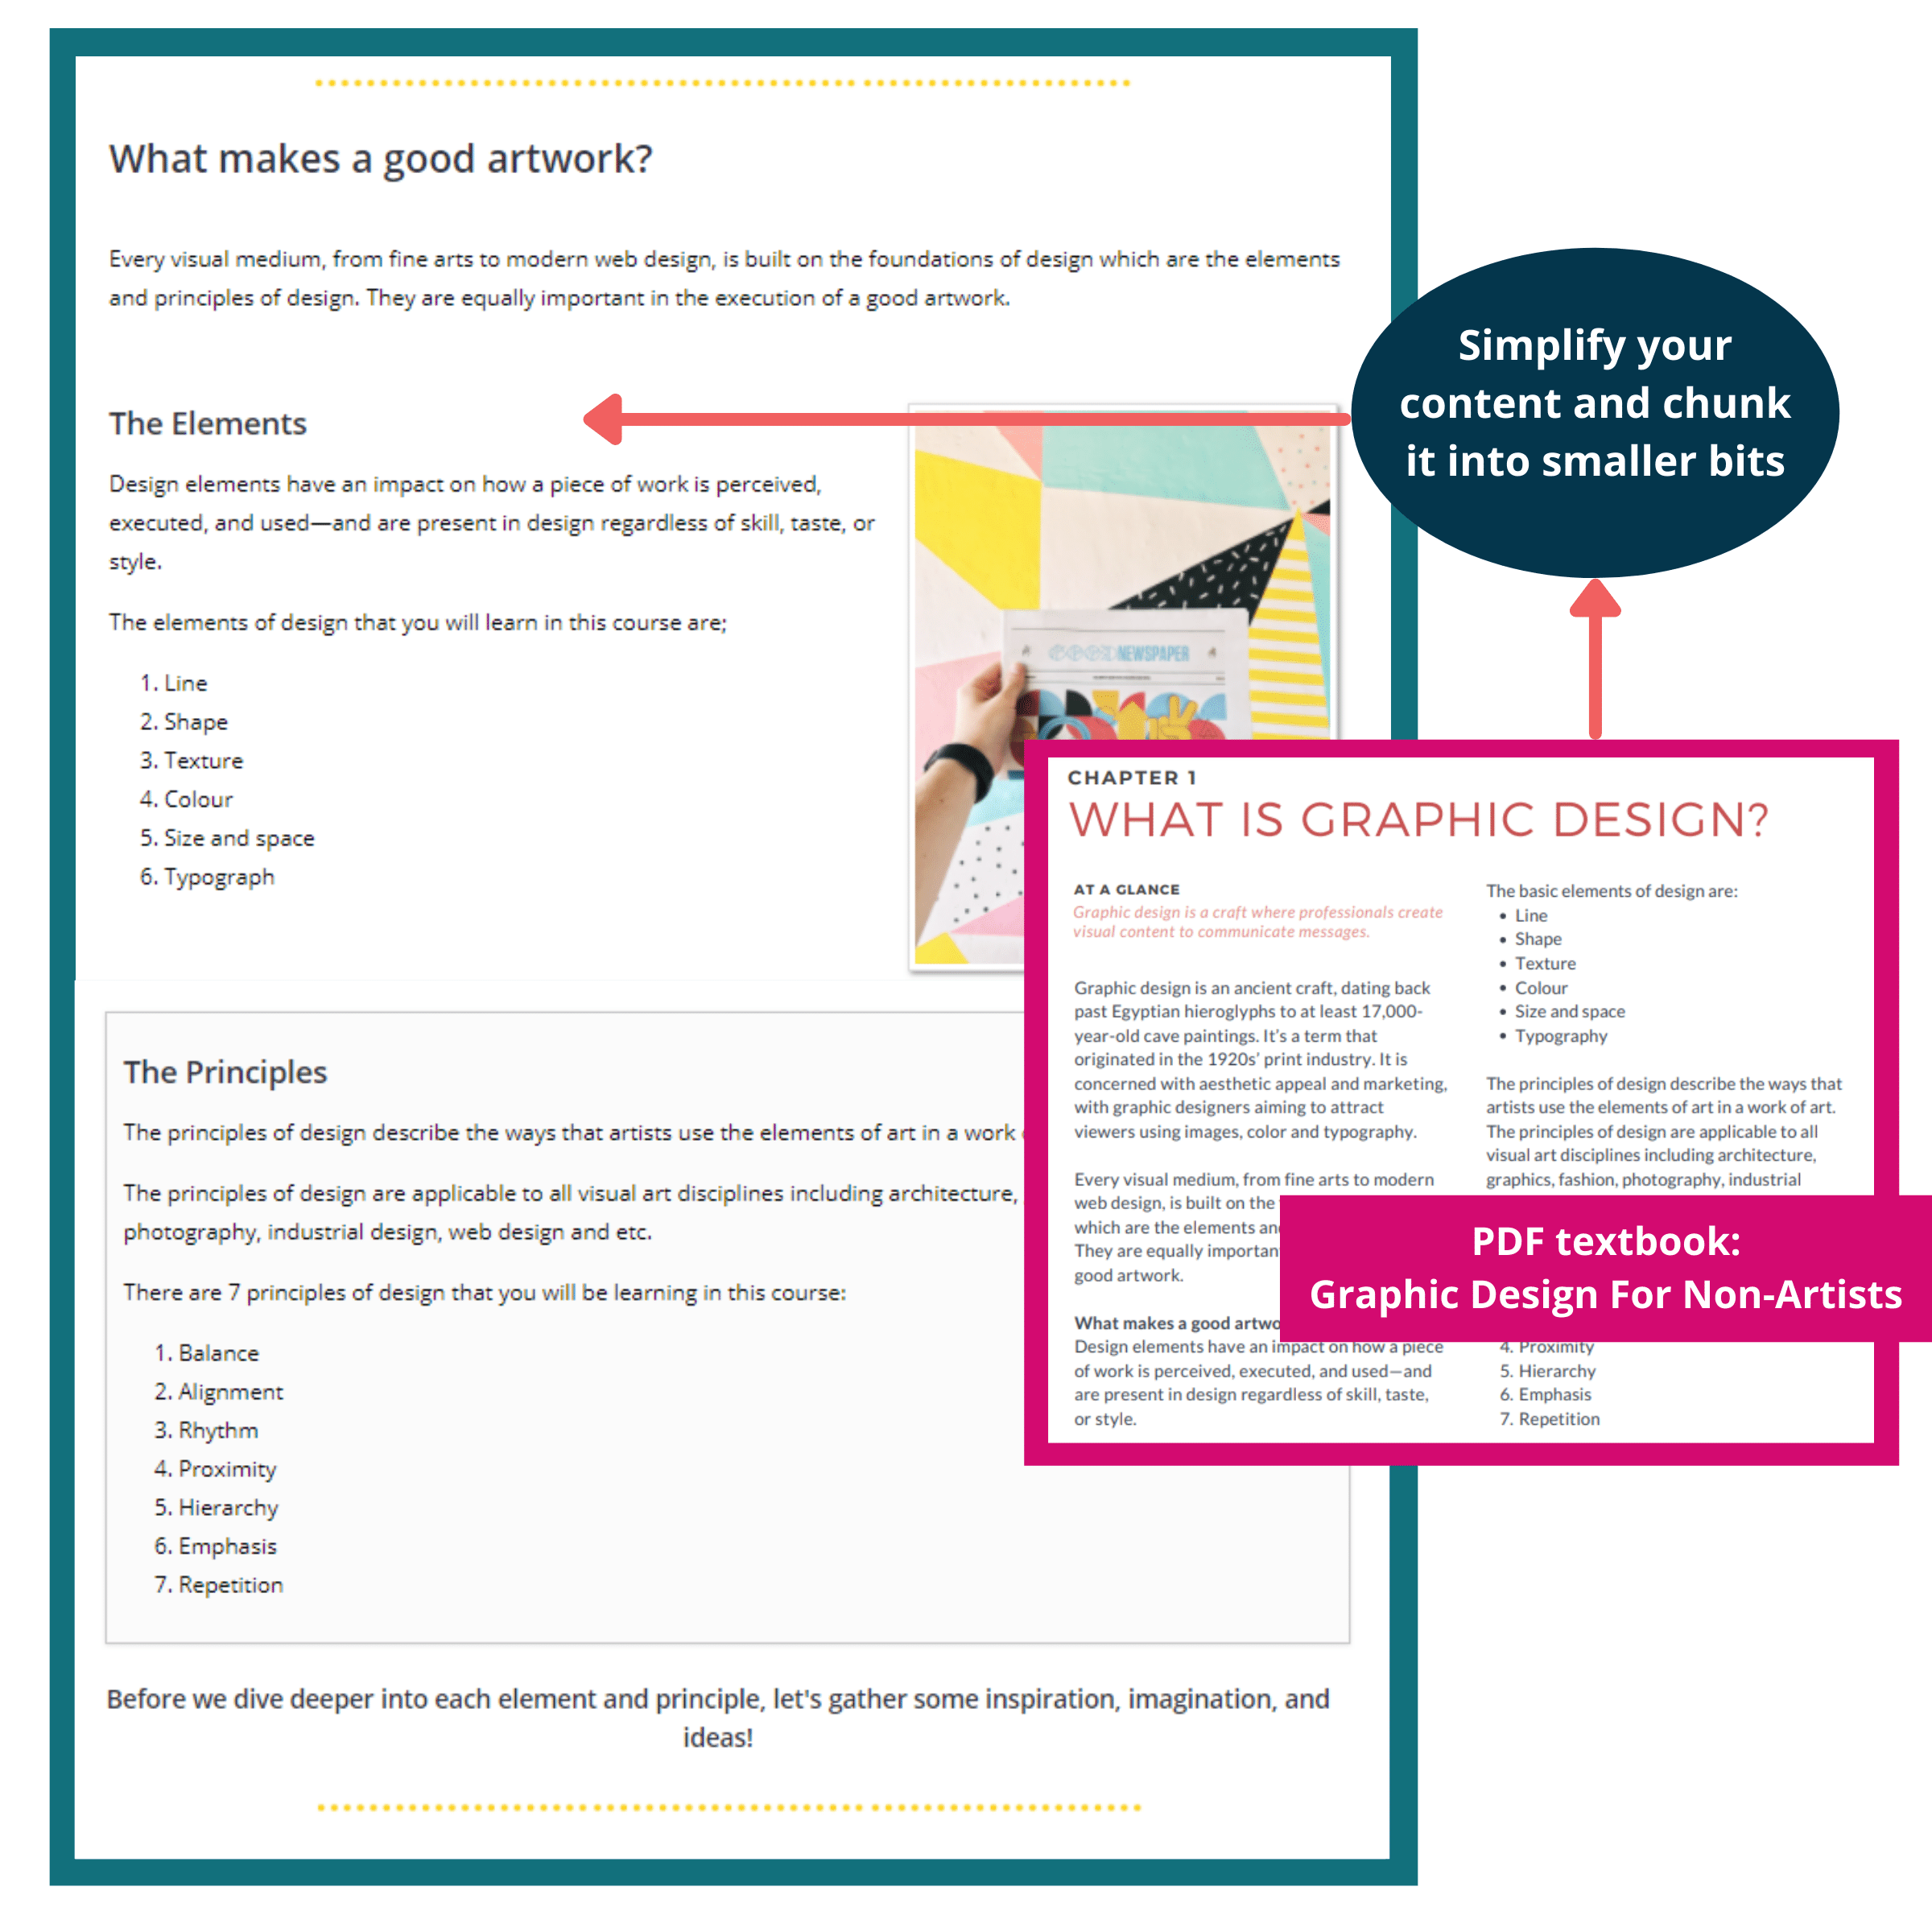
Remove jargon from your text. Write in an active voice and use language that is easy to understand. Use a friendly, welcoming tone to help your learners feel safe and to interact more in the course. A free, useful tool for checking the ‘readability’ of your text is Hemingway Editor. Aim for a level between Grade 4 - 6 to ensure that more of your learners can understand.
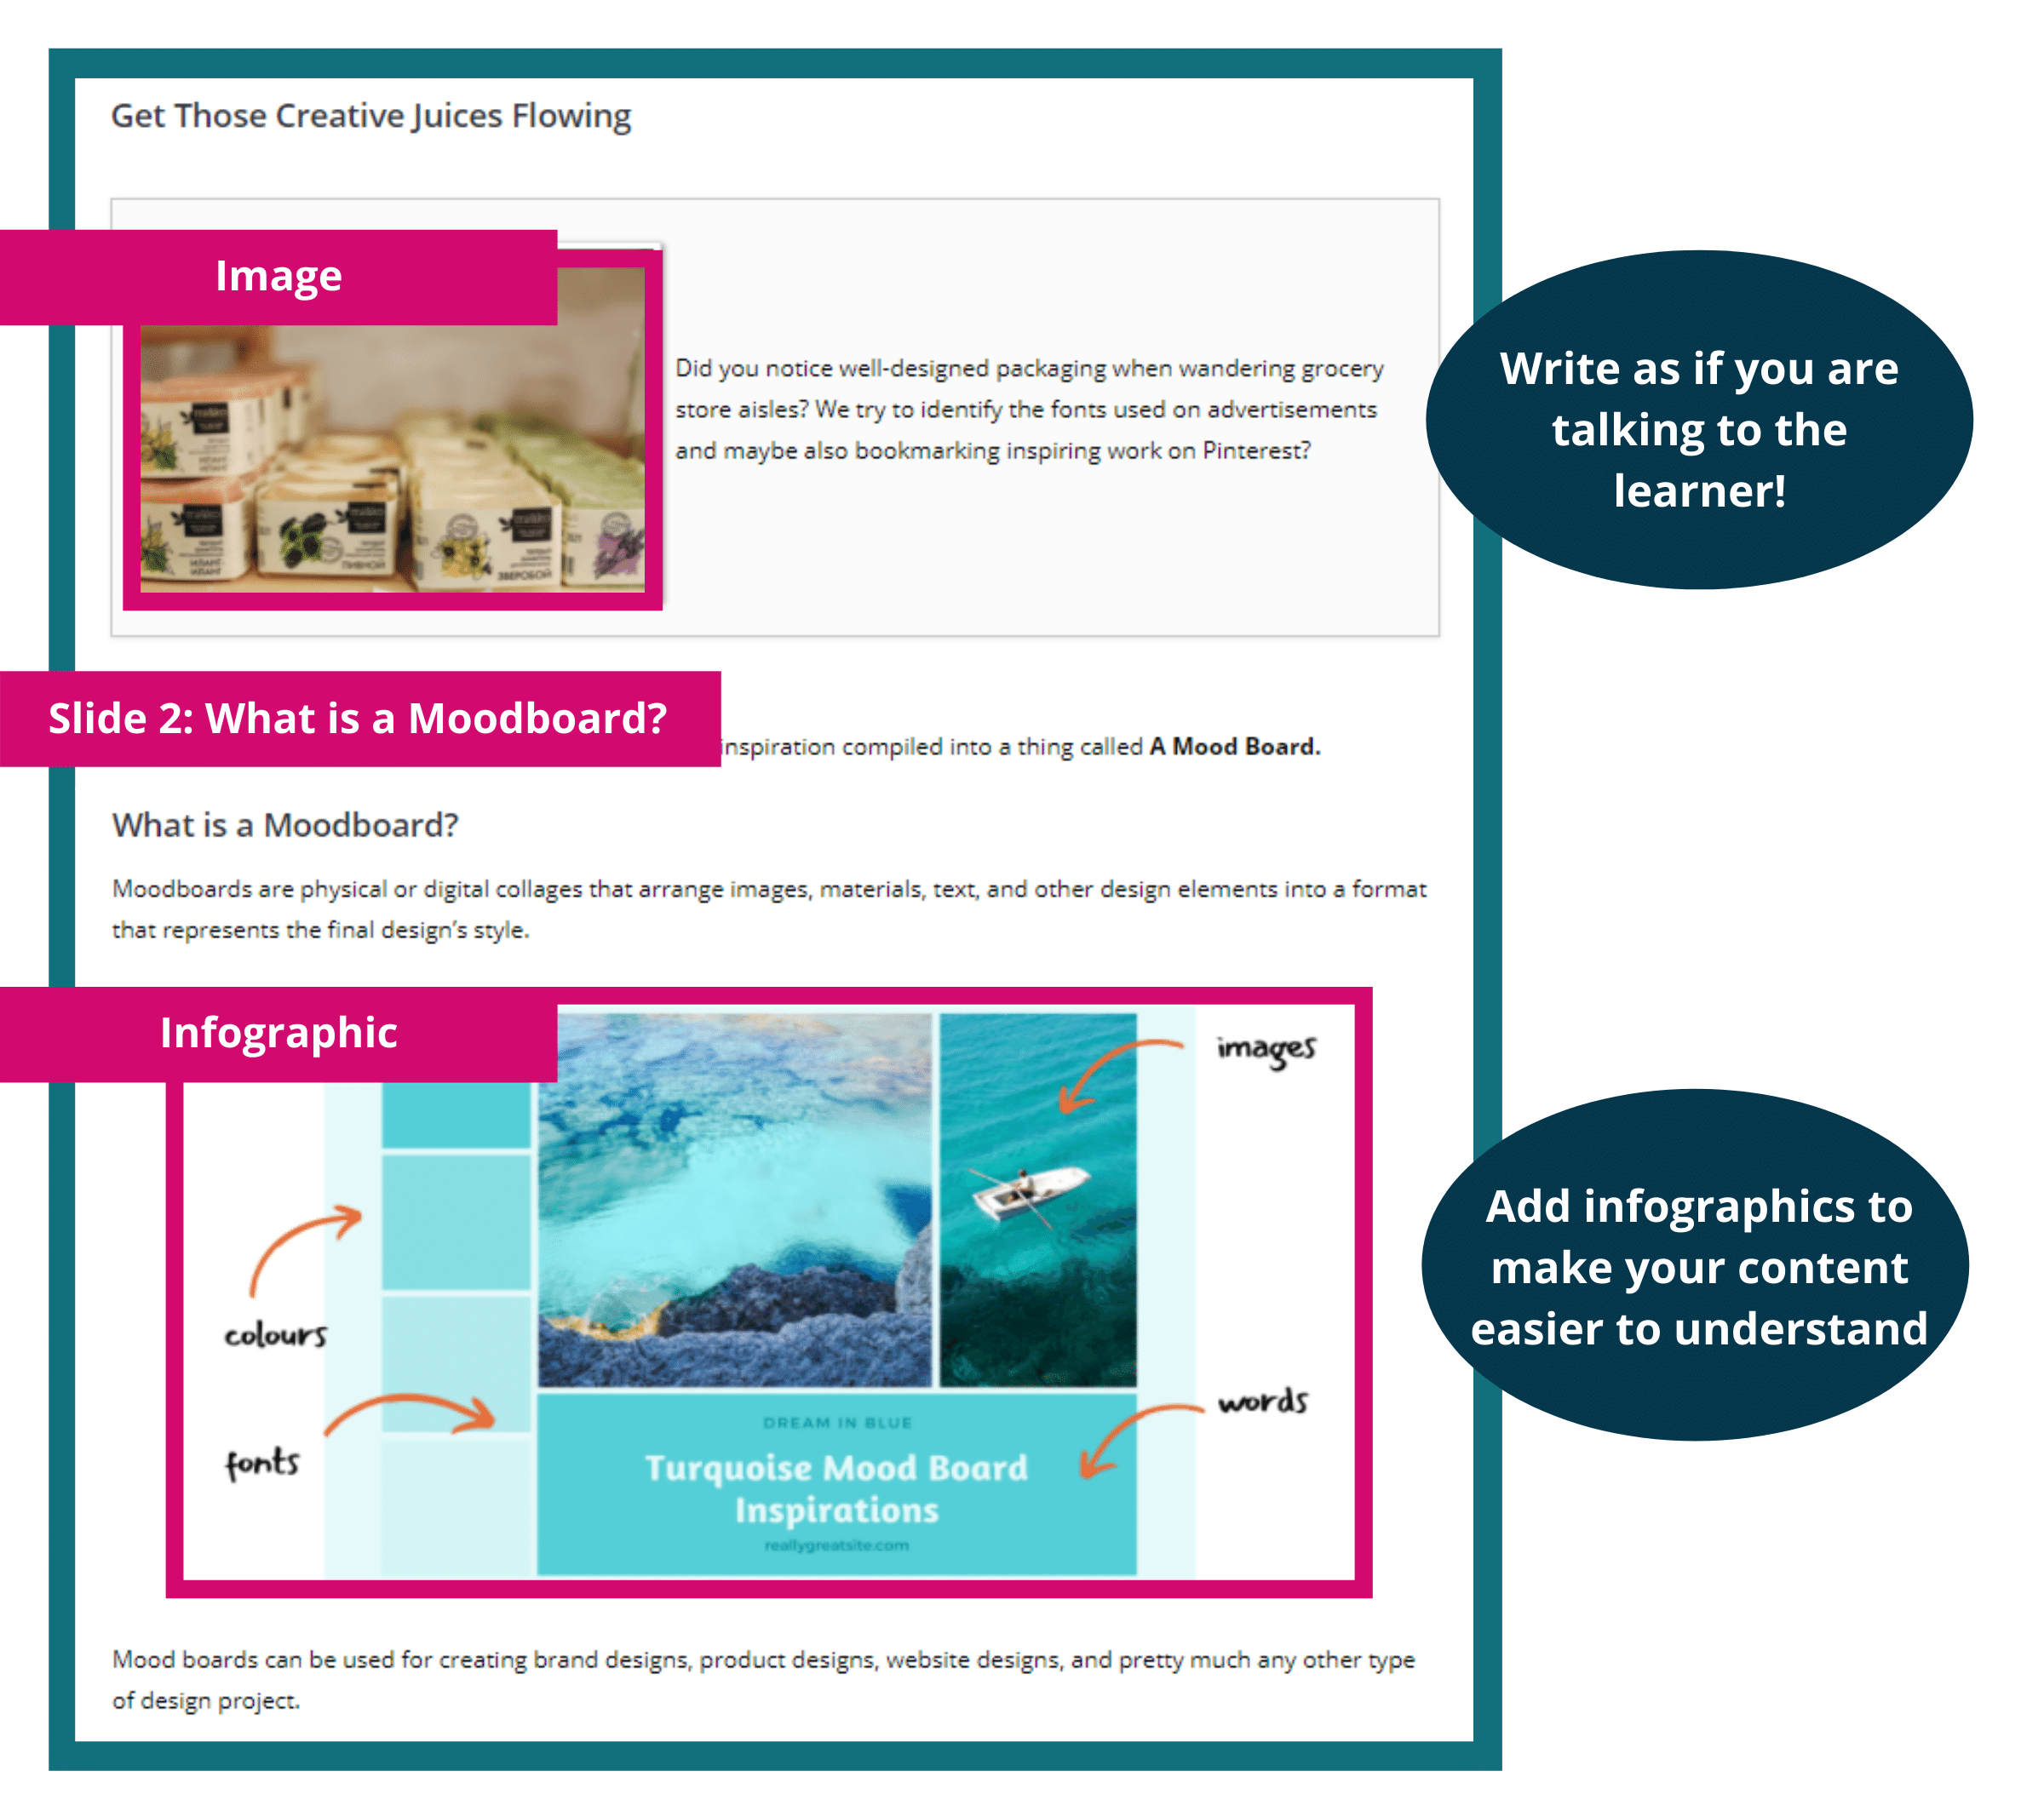
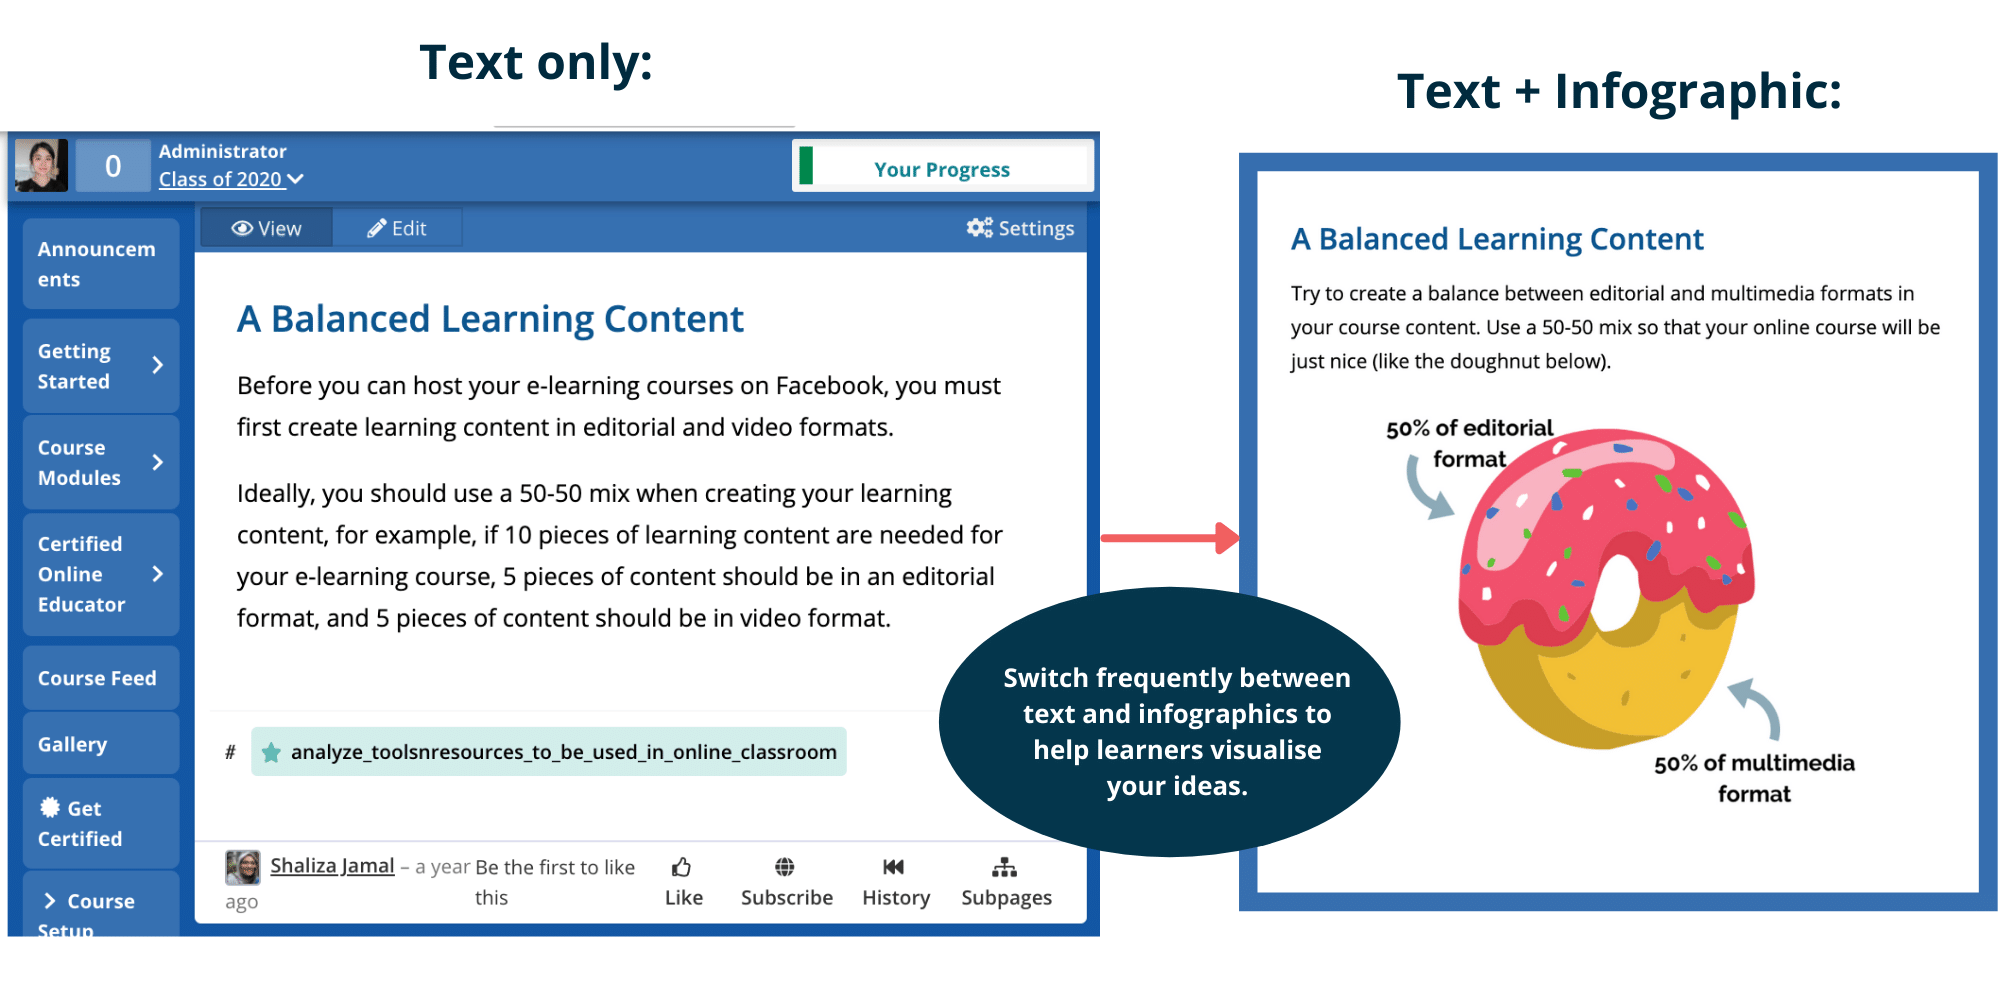
Tip: The secret is to write as if you are talking to the learners! You can also include images or infographics if you are explaining complex ideas.
Look at the example below:
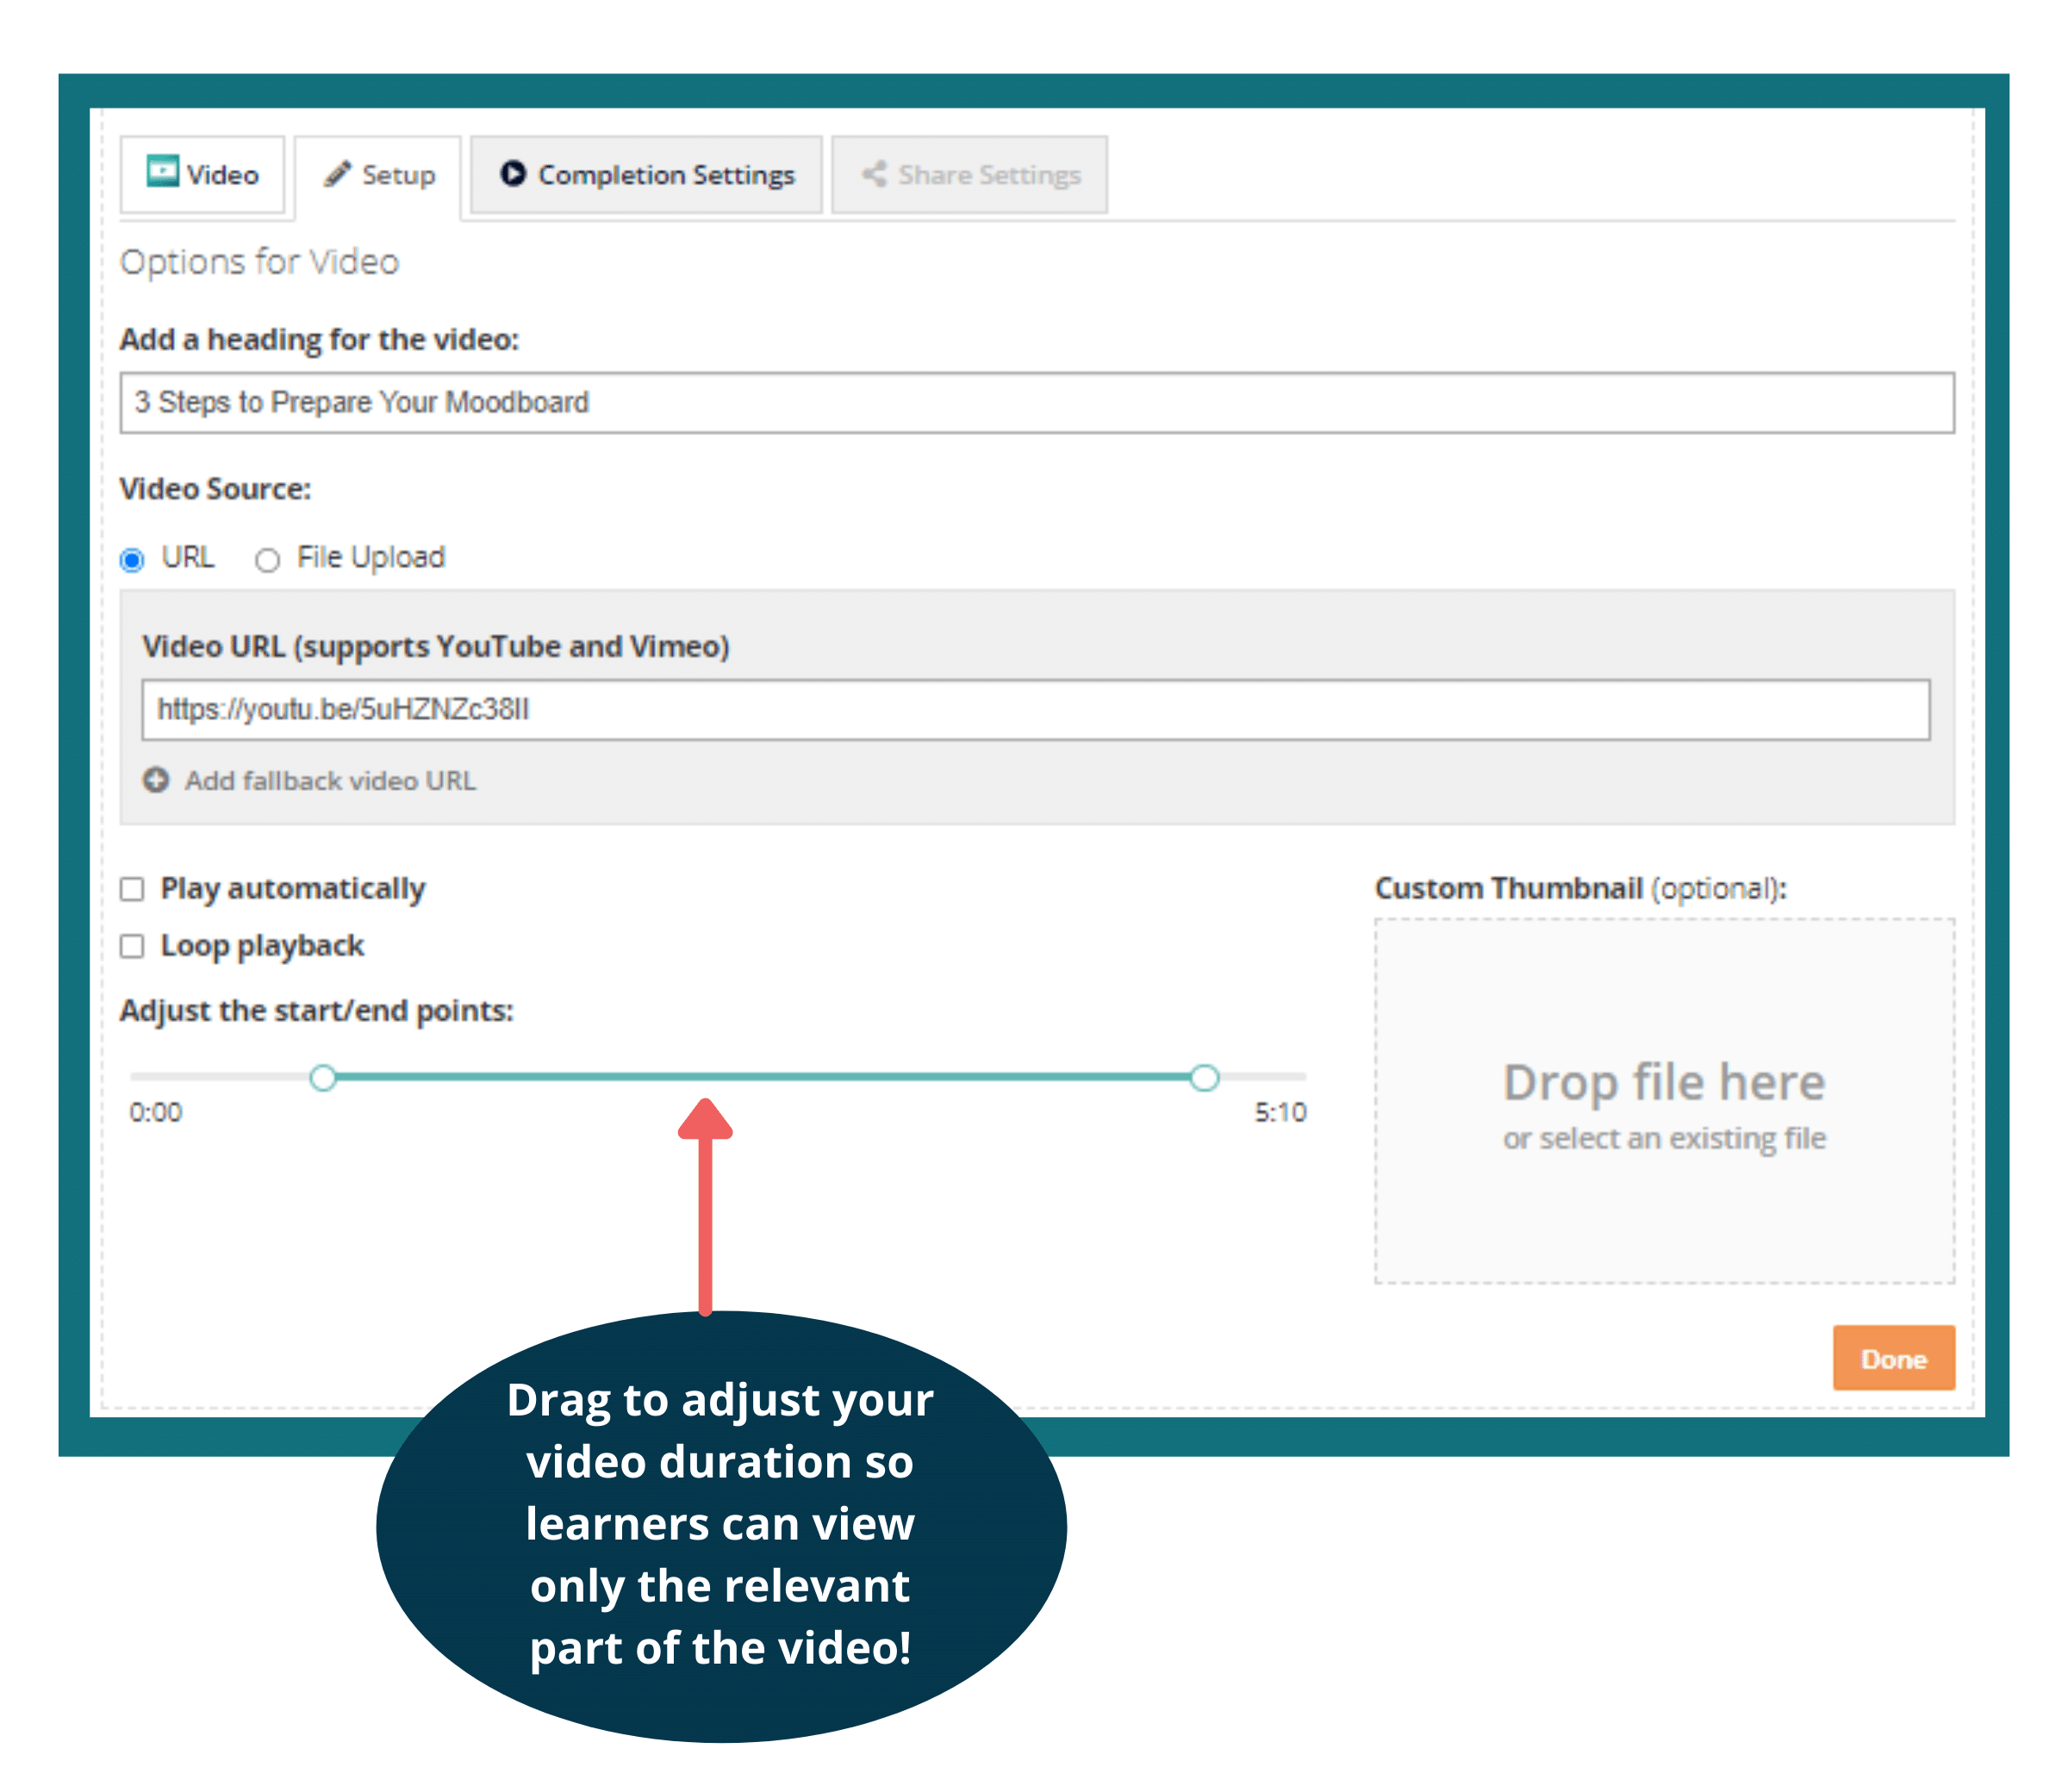
The same goes for your videos. Divide them into smaller chunks: 3 to 5 minutes is a suitable length for videos. Any longer than this, and learners will get disengaged and drift out into passive learning. On OpenLearning, you can adjust the start and end point of videos that you have uploaded or embedded from YouTube.
P.S. That means that you don’t need advanced tools to edit the video yourself!
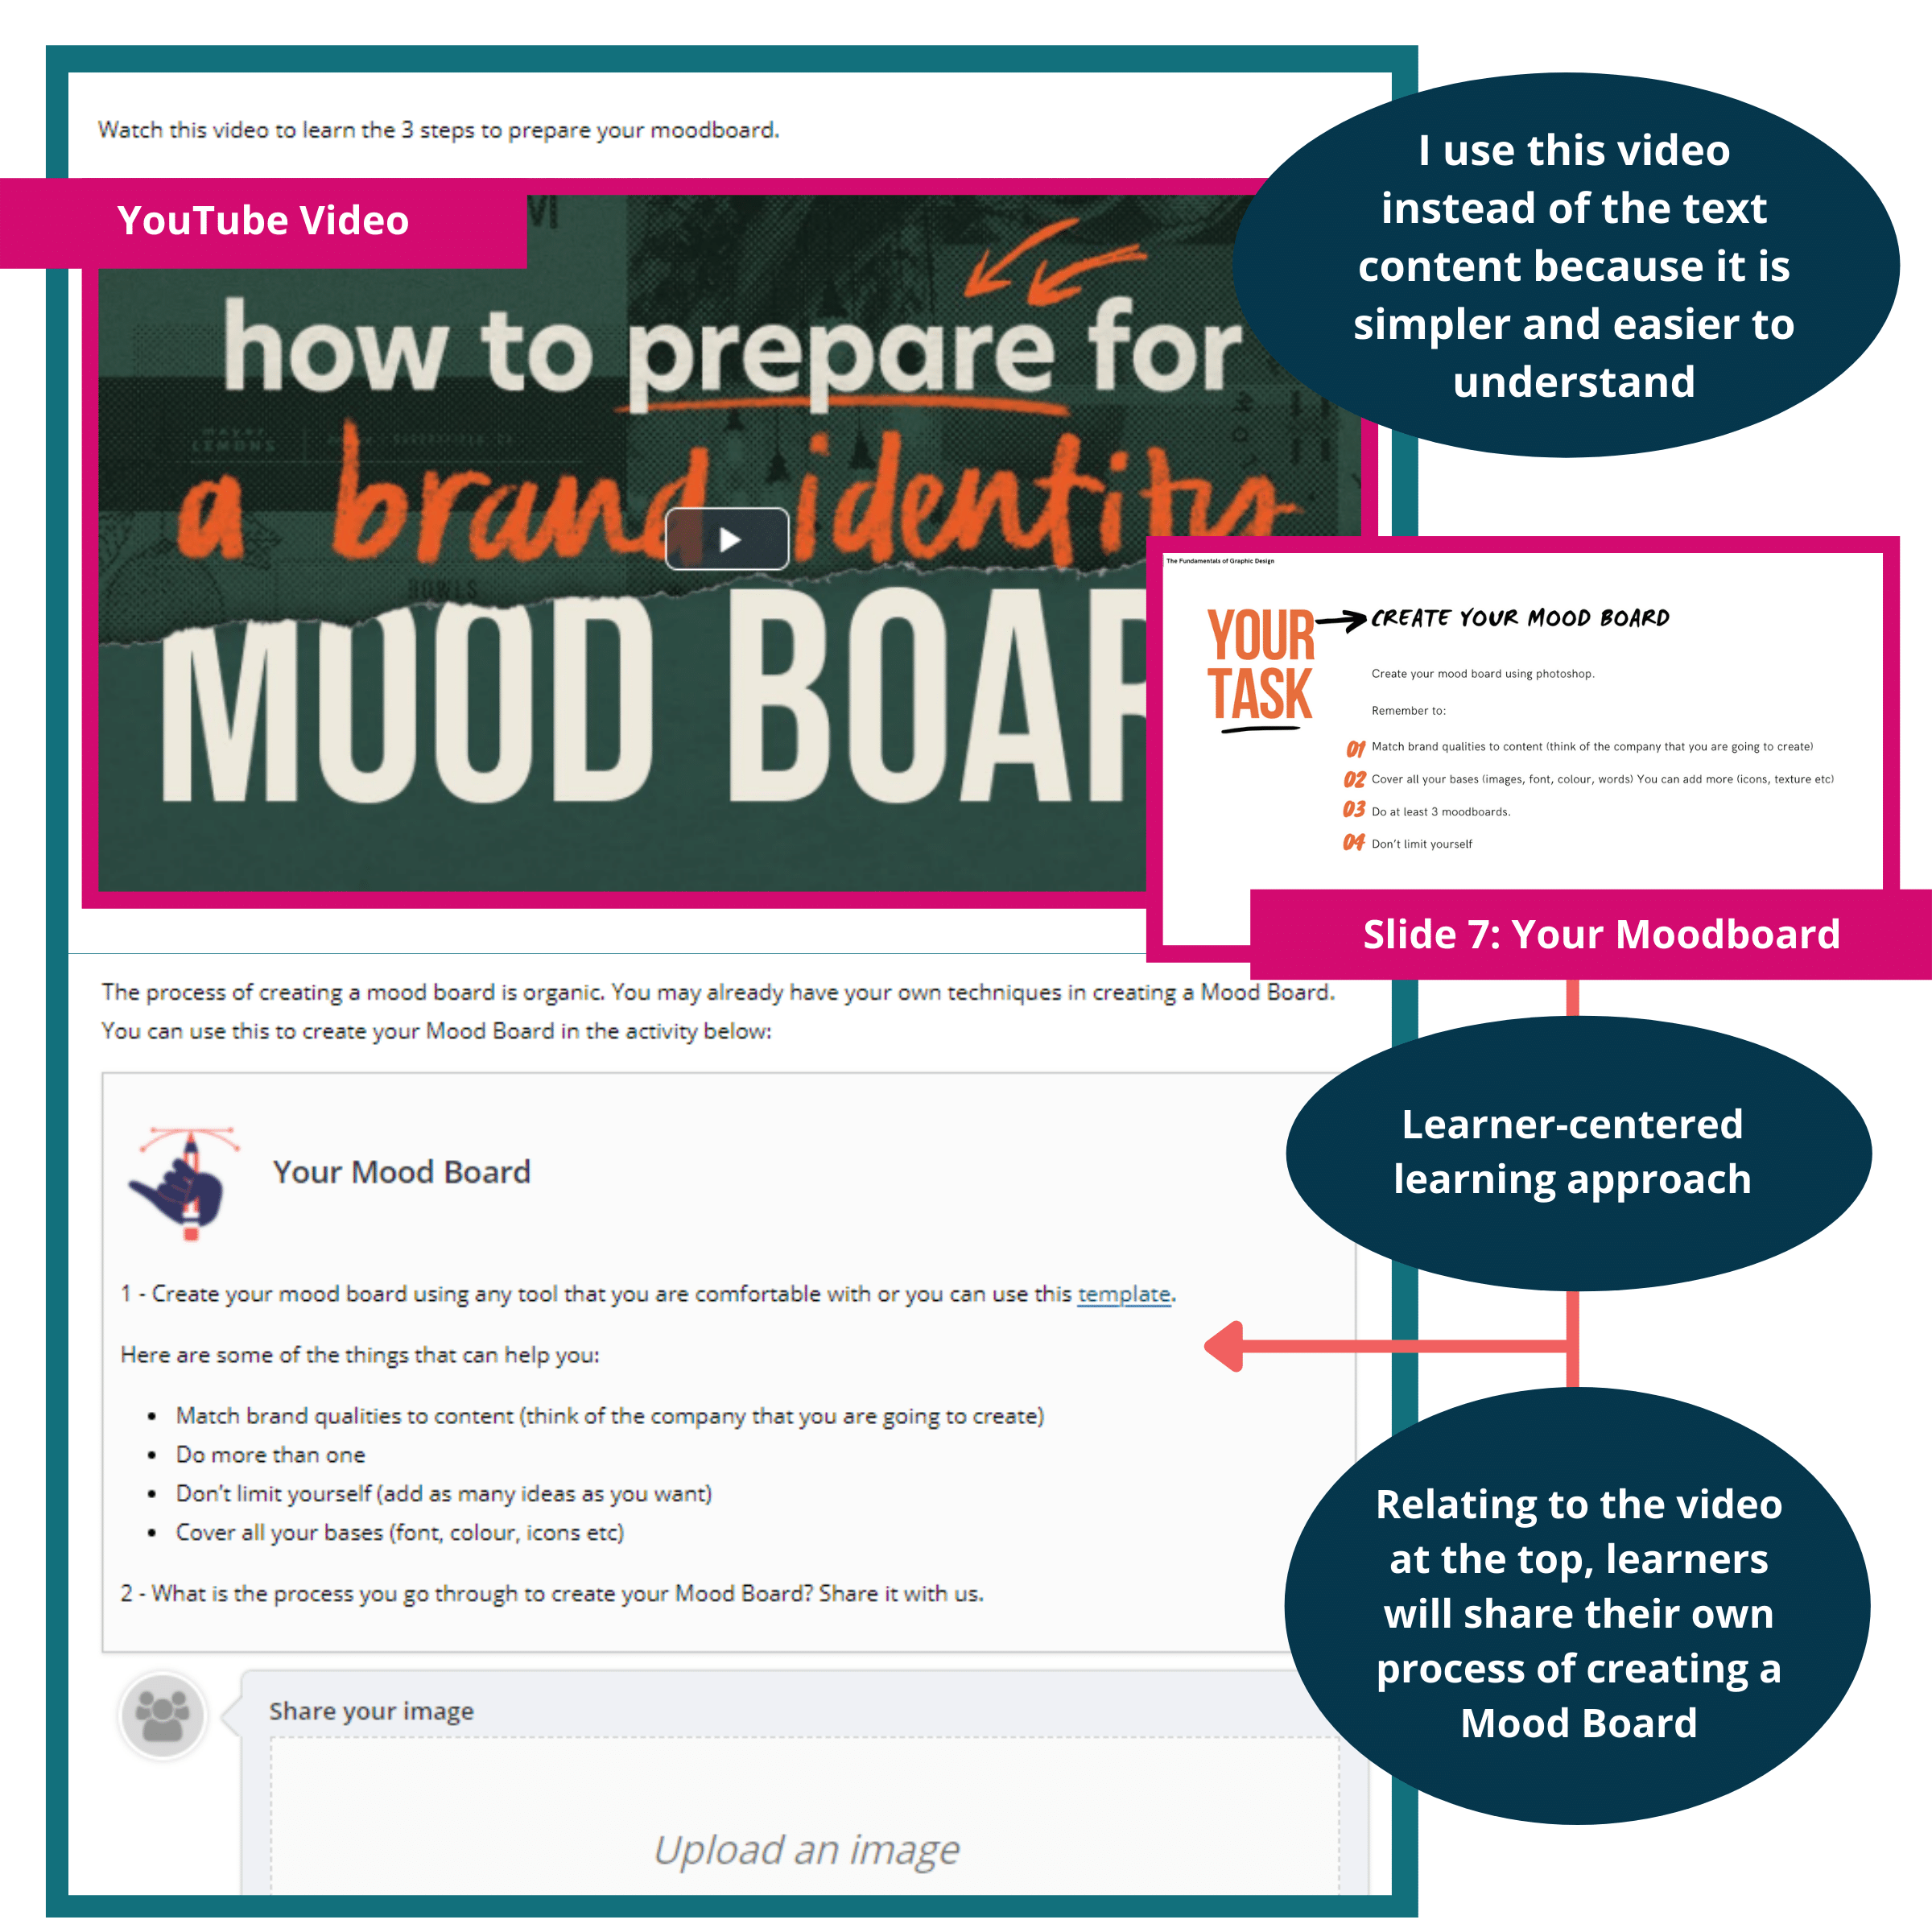
Let me show you how the video widget works on OpenLearning. For example, in this ‘Mood Board’ video, I dragged the buttons to adjust the video to start at minute 00:51 and end at 04:43.
You can also pick out some sections of your content and convert them into infographics, charts or diagrams to simplify it for your learners. Not only do these images add colour and variety to your page, but they also give more impact to the learners.
Here is one example from the ’Be A Future Ready Educator Now!’ course. Which one is easier for you to digest?
Other than images, you can embed external articles, blogs and websites to supplement your existing content. This will provide variety to your content and make it more interesting for your learners.
When including content in your course, try to choose the resources that help you to expand on what is learned. For example, videos and articles could help your learners to ask more questions, solve a problem, or motivate them to dig for more information.
Taking it a step further, you can also use your understanding of pedagogy to enhance each of your learning activities. If you have an existing set of questions, tweak them by integrating more learner-centered learning approaches such as discussions or group projects.
Tip: Keep enhancing your activities over time to boost learner engagement. I’ve explained how you can monitor student engagement in this video.
Here is another example from a different course:
In the activity below, rather than asking learners to search the Internet and list down the types of coffee available, the learners are asked to share their favourite coffee drink.
Since they will be able to see each other’s posts, they can learn from each other about the different types of coffee people drink around the world:

This social, experience-based learning activity is from the 'A Beginner's Guide to Coffee' course by Sunway University. Click here to read more about the importance of social learning.
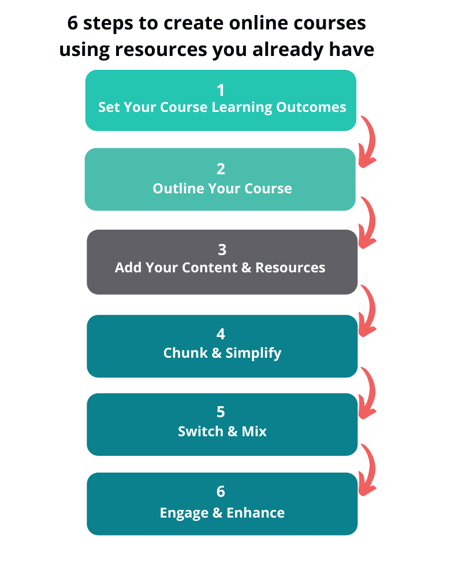
There you have it, 6 simple steps to use the resources you already have:
Once everything is in place, you will want to think of how you can evaluate whether your learners have achieved the learning outcomes. This is where you can improve and reuse your existing assessment questions too. Learn more about our outcome-based assessment and what makes a good online assessment here.
The OpenLearning platform is designed to help you align all your resources, learning activities and assessments back to your learning outcomes. It's here to help make course designing easy for you. Use the 6 steps above to create your learning experience masterpiece!
OpenLearning is an online learning platform with a focus on student empowerment, active learning, and community. Want to find out more? Tune in to our latest webinar:


