
*The content of this article is based on the writer’s experience and is written with the assumption that both facilitators and learners have sufficient bandwidth to access online platforms such as Zoom, Google Meet, and Microsoft Teams.
Despite having actively engaged with the world of online facilitation in the past 18 months, I still find myself worried about whether participants will find the virtual experience to be one that’s worth their time.
I reckon there are other online facilitators who feel the same way I do. So, I’ve written a guide on the 3 main elements to consider before choosing to do live online facilitation, and 4 ways to prepare yourself for each session.
 1. Time & Setting
In an online setting, I feel as though time moves 3 times faster.
I sometimes take for granted that what is done in a physical setting will be applicable in an online setting. For example, in a traditional classroom, I’m able to do a quick sweep of the room to see who understands and who doesn’t. If blank faces stare back at me, I can quickly check what is confusing and clarify.
In a video call, this usually takes up more time. It’s challenging to decipher body language at a glance, and if I’ve sent people off into breakout rooms, I would need to move from one room to another.
It’s important to be mindful of these differences between physical and online settings. You may need to allocate extra time to fix technical issues such as repeating unheard instructions or troubleshooting.
If Lady Luck is on your side, you may not experience any tech hiccups and be able to spend more time delivering your content. However, it’s hard to predict these things and it’s always better to allocate time for mishaps. You can always fill that time with a back-up activity if all goes well.
 2. Content
 Regardless of the age of your audience, ensure your content is in bite-sized pieces. Consider the following as a structure for your 40 minute session (assuming you’re delivering an hour-long session and have accounted for tech hiccups and the like):
a) Introduction
At the beginning of the session, provide your audience an overview (roadmap) of the session and the key ideas/concepts they can expect to learn.
It’s good practice to show your audience where they are on the roadmap as you go through the different concepts during the session to keep your audience on the same page.
b) 2-3 Objectives
While your content and amount of time you have may vary, it’s good practice to limit your content to 2-3 objectives. Virtual learning takes up energy—not only to process the content, but also to interact with each other. Despite your best intentions, there’s only so much information your audience can stomach before they start zoning out. List everything you want your audience to know about the topic and then select 2-3 objectives that’s going to really add value to their learning.
For each objective, have a memorable key takeaway. For example, if you wish for your audience to be able to effectively communicate, then a possible key takeaway could be the mnemonics that the audience can rely on to aid effective communication.
c) Closing
Sum up your session with a couple of key takeaways related to session objectives. Do not use your closing to share new content. That ship has sailed and your closing should only be to reinforce what your audience was already exposed to.
Depending on the internet bandwidth of your audience, you may want to give them the materials beforehand so that if they have connectivity issues on the day, they can still engage with the content. It’s ideal that you also share your materials during the session so that learners of different abilities can access the content at their own pace.
 3. Audience
If there’s anything people are missing right now, it’s human connection. Incorporate ways for people to connect with each other during your session and create spaces for them to feel included.
Different online platforms allow for small group discussions which in turn foster meaningful connections. Utilise this feature. It’s also recommended to get your audience interacting with each other with fun icebreakers as they enter the virtual space.
At the start of the online session, I usually put 3-4 individuals in a breakout room with a couple of prompts to discuss. Depending on the age/language proficiency of your audience, tailor your group interactions and content accordingly.
Now that we’ve explored the elements of live online facilitation, let’s take a look at how these elements influence the way we prepare for our live online session.
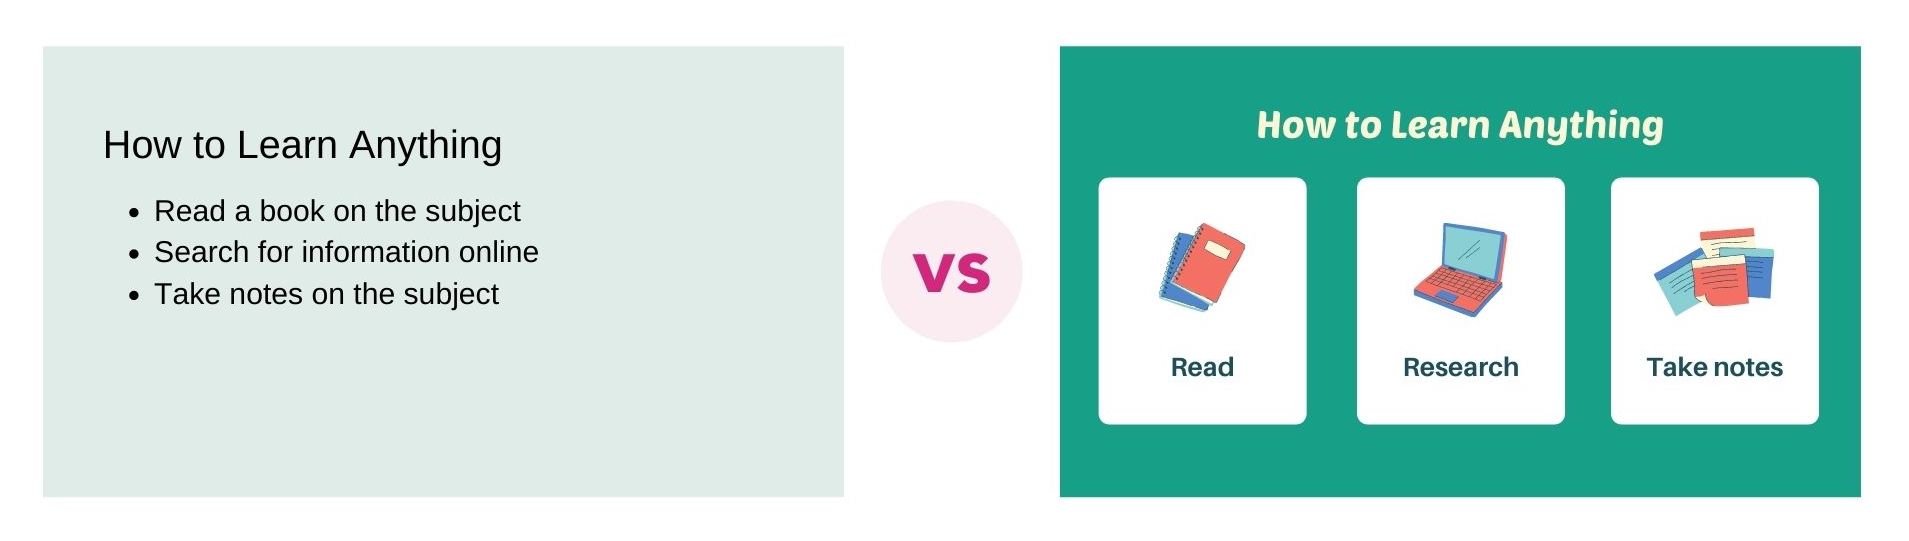
Slides are great but we’ve all been in situations where the facilitator is merely reading off the slides. That does not help with audience engagement and may in fact cause them to leave. Know your content so that you’re not solely relying on your slides. Ensure your slides are a mix of meaningful images and a few sentences which gets your message across.
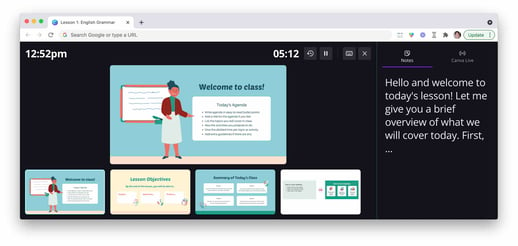
Pro-tip: If you’re worried that you may forget your lines, use the presenter view feature. You can share your screen, while still being able to read your speaker notes without your audience knowing.
It’s highly encouraged that you practice delivering your content within the stipulated time so that you know which portion of the presentation will need more time and vice versa. As you practice, you will also realise the importance of being clear with your instructions. Unless your instructions are clear, your participants aren’t going to know what to do.
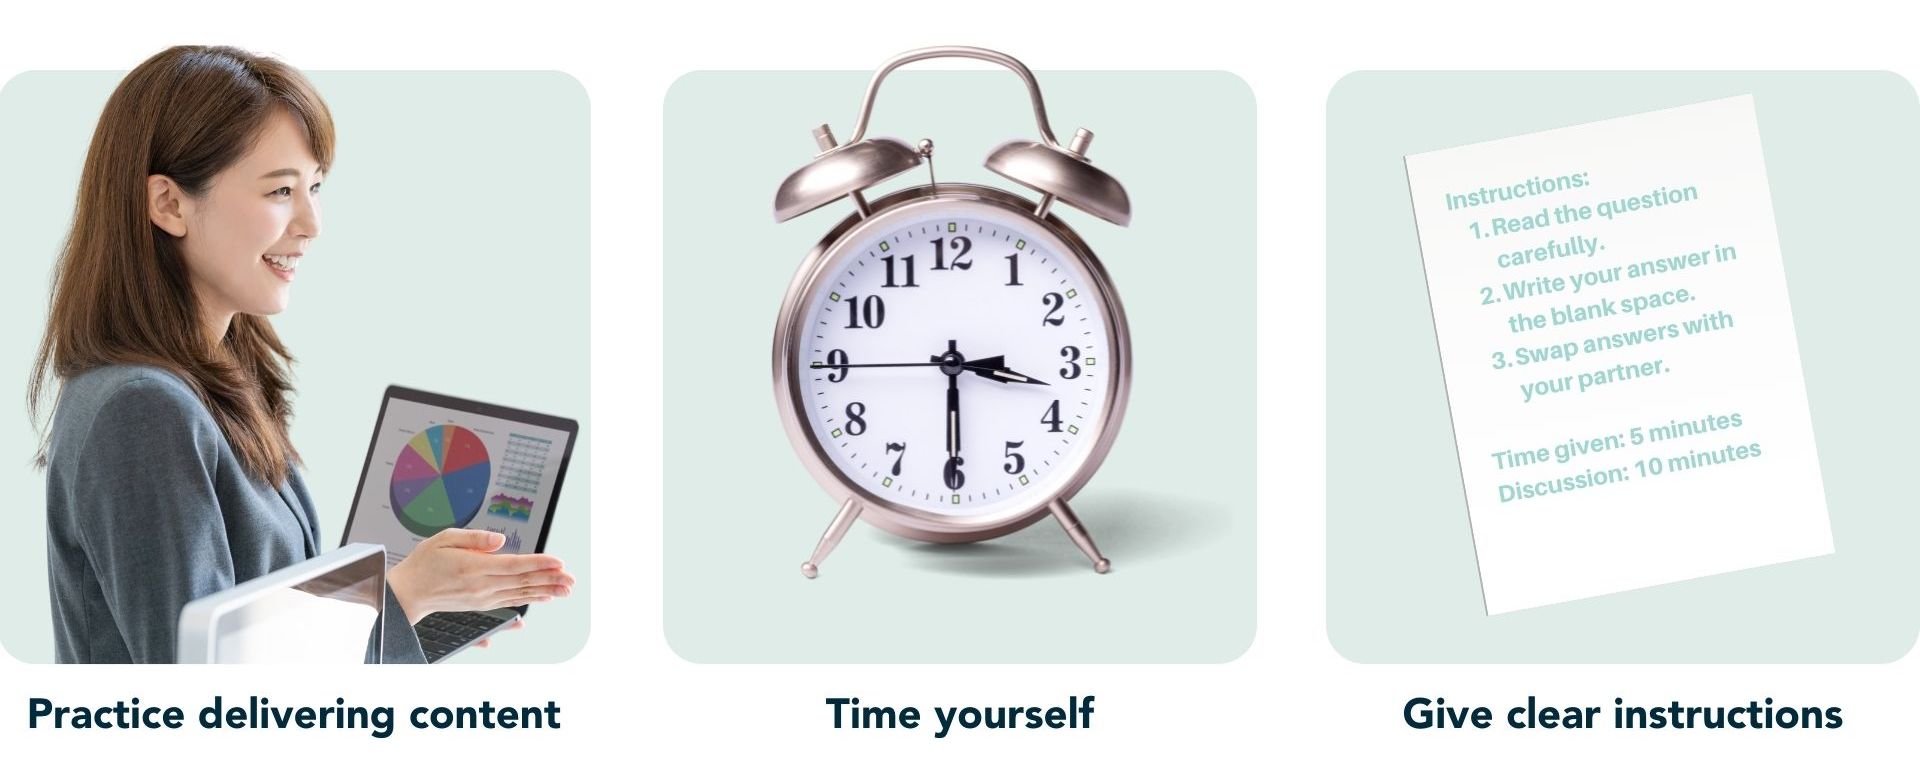
Practicing allows you to build confidence. Remember, if you’re flustered during your presentation, your audience will pick up on it and may grow agitated as well.
It most certainly pays to know the features of the online platform that you’re using. The following features can enhance your presentation and the recommendation would be to test it out with friends/colleagues before using it with your live audience:
a) Screen share

You will likely be sharing your screen. Be sure to only have the necessary tabs open so that you’re not scrambling during the session finding your material. Turn off notifications for other communication platforms such as Telegram, Slack, and WhatsApp to avoid distracting your audience with pop-up notifications.
b) Sharing your sound

You may share a video during your session. When you start sharing your screen, ensure that you’ve selected ‘Share tab audio’ or the equivalent audio-sharing option on your video conferencing software.
c) Breakout rooms

Breakout rooms are great and if used well, can foster meaningful discussions.
When I’m facilitating an online session, I usually begin with a ‘connecting with each other’ activity. During this time, I randomly put 3-4 people in breakout rooms to get them acquainted with each other. I usually provide a couple of prompts for people to talk about once they’ve introduced themselves. Examples include:
I then make it a point to have these 3-4 individuals in the same breakout room during the breakout room activities throughout the session. This is because these individuals have already built rapport and are likely to meaningfully engage with a task compared to those who don’t yet know each other.
d) Chat

For participants who aren’t able to unmute their microphones, draw their attention to the chat instead and encourage them to interact with you and others.
e) Annotations
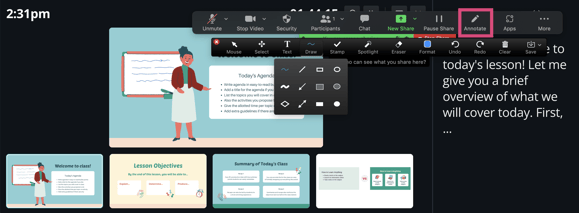
Annotations are a fun way to get people interacting with the content on the screen. Be sure to give proper instructions and leave enough time for familiarisation, because first time users may find the experience disorientating.
f) Polls
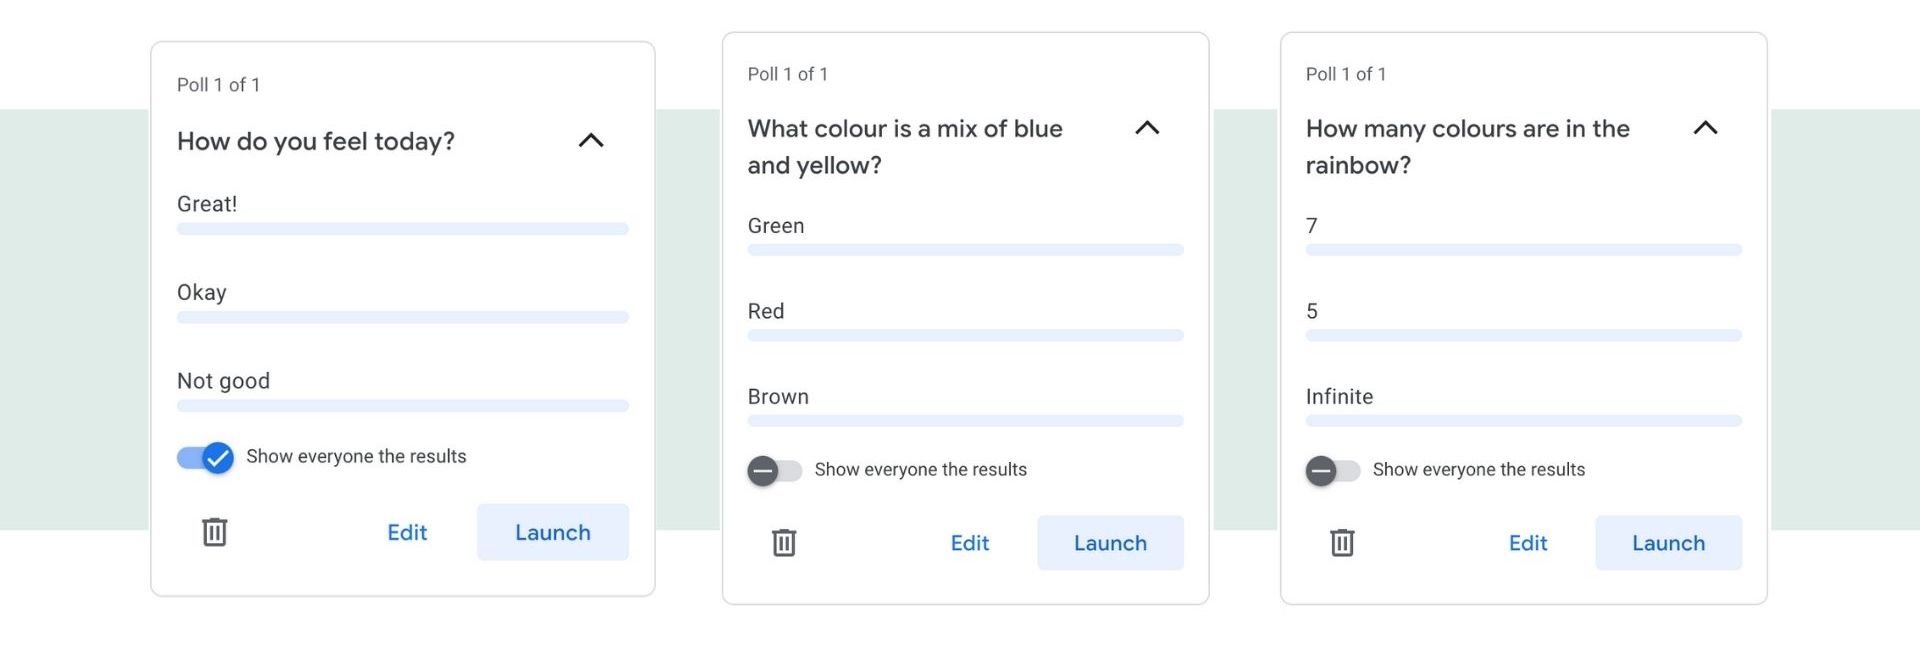
Polls are a quick way to gauge how your audience is feeling and how much of the content they have understood. The following are some ways I use polls to engage my audience:
Depending on the poll results, I’d either send an email post-session to clarify certain concepts or offer extra support to those who may need it.
You’re not likely going to be able to preempt everything, but the following are common mishaps:
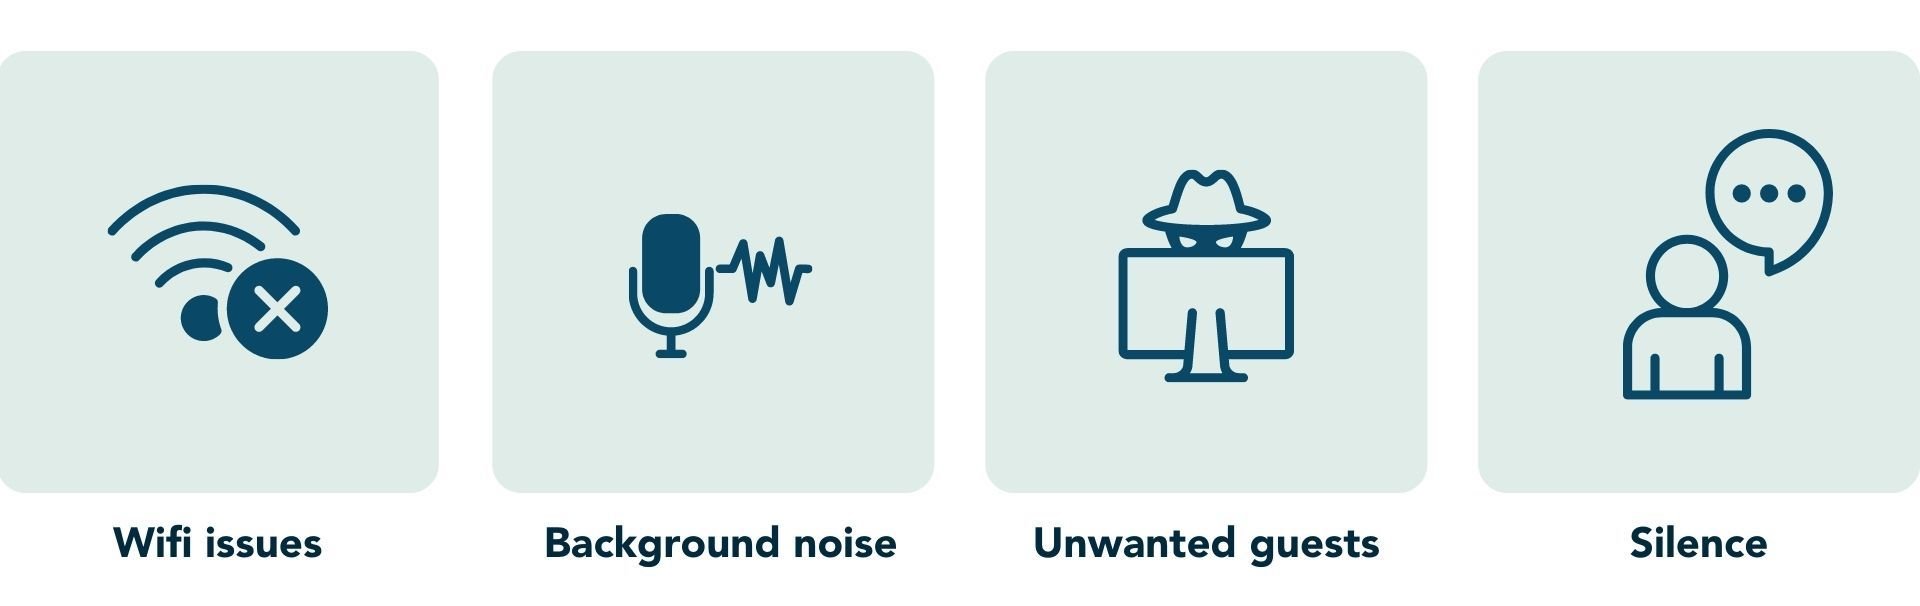
a) You lose internet access
This has happened to many, if not all of us. It’s recommended that you have a co-facilitator with you who can carry on with the session if you drop the call. Set your phone as a secondary internet source for the relevant online platform. This is not ideal but it’s much better than disappearing from the session.
b) Background noise
Sometimes, participants forget to mute themselves and everyone can hear what’s going on in their environment. Request that your audience mutes themselves beforehand, or use your host powers to silence anyone who isn’t muted.
c) Unwelcome guests
In the early days of live online facilitation, there were many cases of people crashing a live session. To prevent this from happening, make sure your session is password protected and that the waiting room feature is enabled. If you still have unwanted guests, you can momentarily pause the session to remove the participant.
d) Silence
Sometimes, people don’t know what to say and there will be moments of silence during your session. Silence is acceptable, but it’s a good idea to have an internal timer for this silence. If you’ve waited for a minute or two for a response but didn’t receive any, it is common practice to carry on with your presentation and return to the question later.
The above are some quick and easy ways to prepare yourself to facilitate a live online session. Rest assured, it gets better with practice and every online experience prepares us for the next one. So go forth, and be your best virtual self!


